And others.
So far, I have not been able to add Kaspersky antivirus or Dr.Web to check my computer for viruses. From this multiboot flash drive it will be possible to install only one recorded on it Windows version 7 and Windows XP. That is, while I do not know how to make sure that there are several images of Windows 7 on the flash drive, and during installation we could choose. (If you have several operating systems in the image for installation, in this case there will be a choice. How to make it possible to install Windows 7 from one image of Windows 7 Ultimate: Initial; Home; Professional or Ultimate, read and see). I hope to deal with this in future articles. Illuminated all the nuances. Ran to create multi bootable flash drive.
Download and install MultiBoot USB
Download the MultiBoot USB program with which we will make a multiboot USB flash drive.
Download conveniently from a torrent
http://rutracker.org/forum/viewtopic.php?t=3848726
After downloading, it is advisable to check the checksums
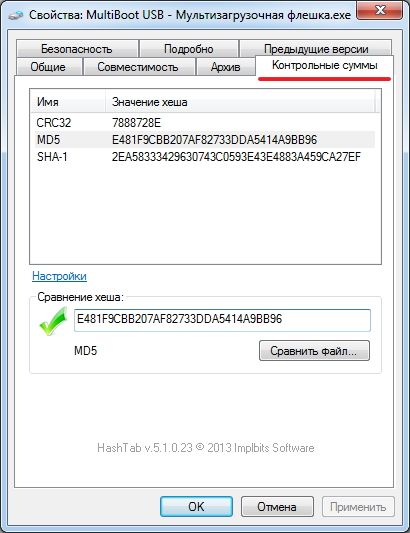
The checksums have converged, proceed to the installation.
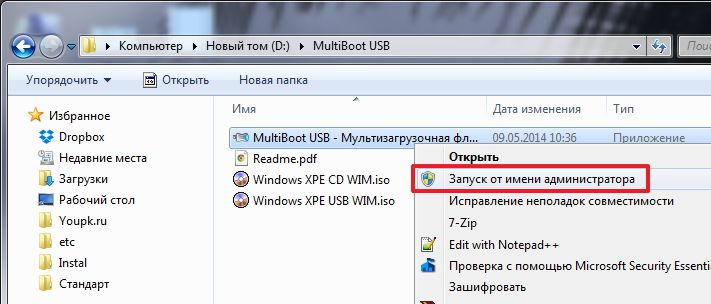
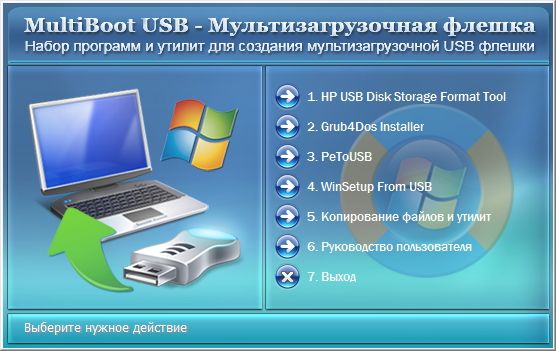
Run as administrator MultiBoot USB - Multiboot flash drive.exe
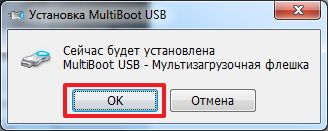
Click OK
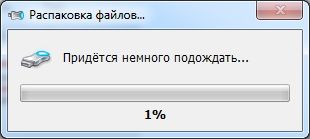
The installed program starts immediately
Half done.
Download and install UltraISO
You can not do this item if you already have a program for working with ISO images (for example, DAEMON Tools) installed. We need a program to mount images in virtual disk For Windows entries to a flash drive.
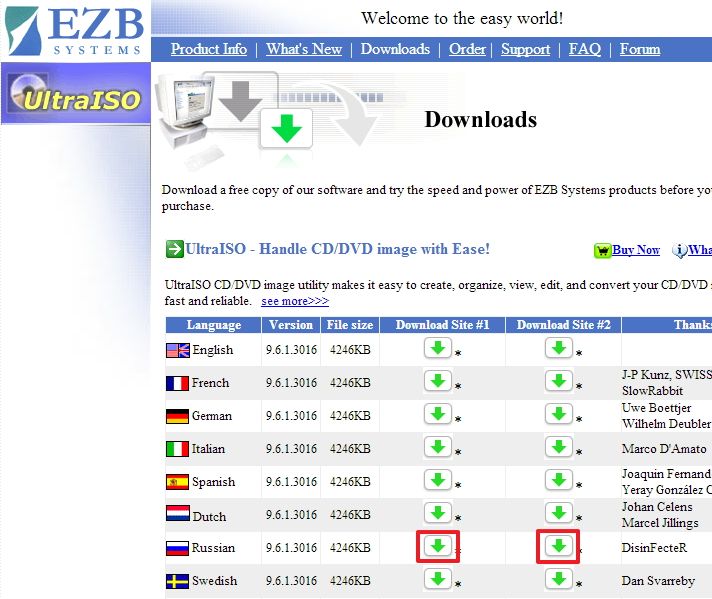
Download UltraISO from the official website and with the desired language
http://www.ezbsystems.com/ultraiso/download.htm
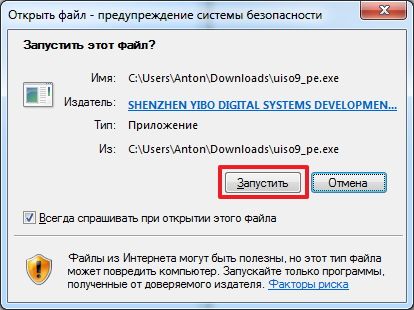
Let's run the downloaded file. In the security warning window, click Run
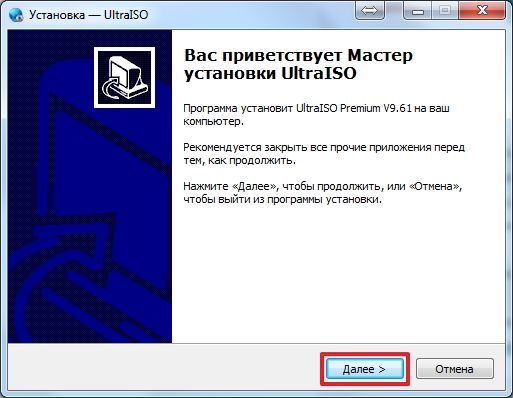
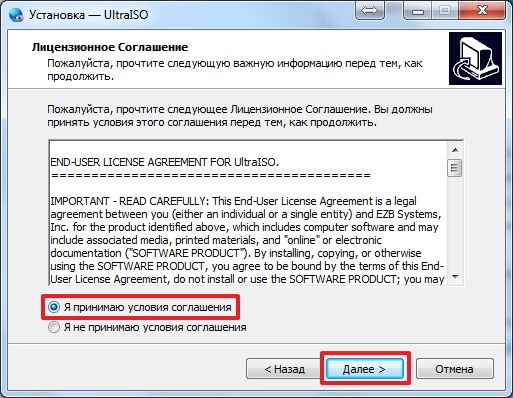
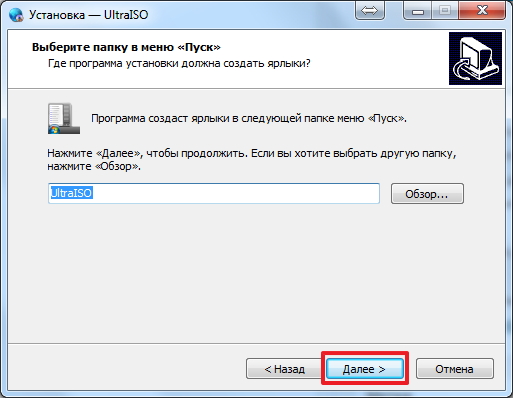
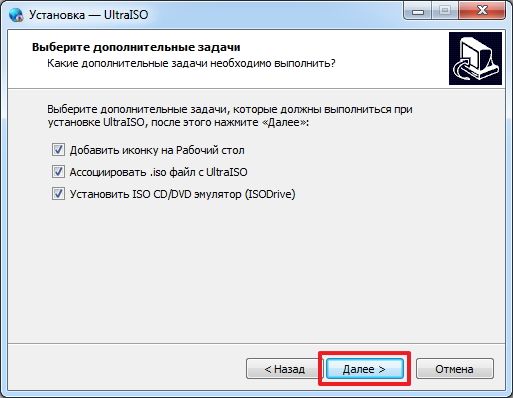
We are welcomed by the UltraISO installation wizard. Click Next >

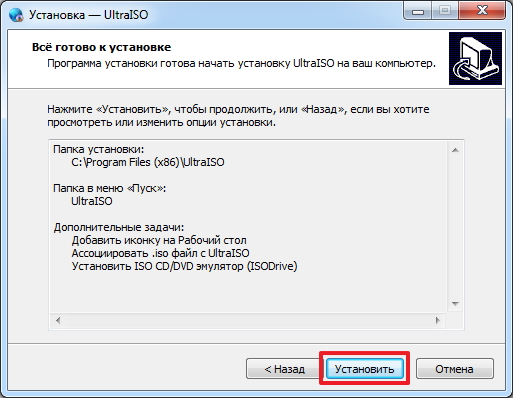
Click Install
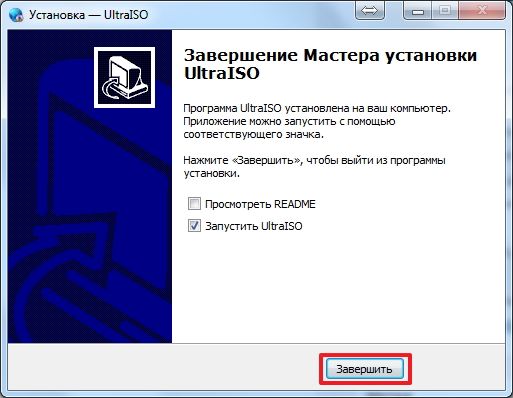
Click Complete
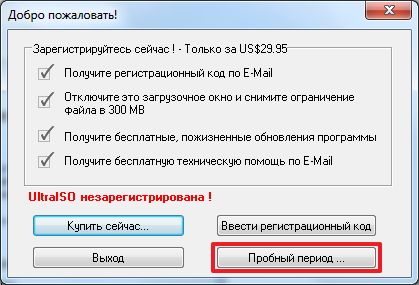
UltraISO launches. Click Trial period…
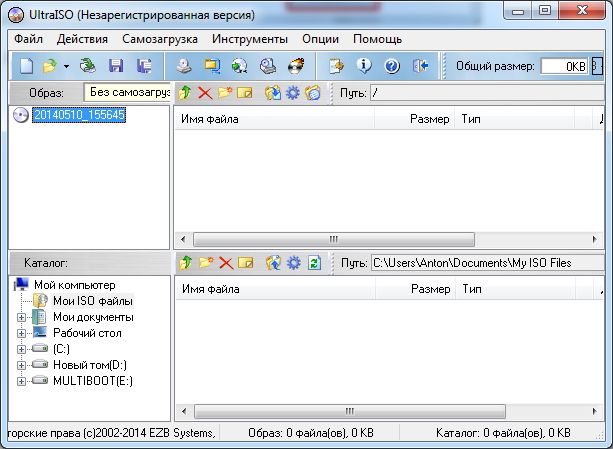
UltraISO installed and running
Format and install the bootloader on a USB flash drive
And others.
So far I have not been able to add an antivirus or to check my computer for viruses. From this multiboot flash drive, you can install only one version of Windows 7 and Windows XP recorded on it. That is, while I do not know how to make sure that there are several images of Windows 7 on the flash drive, and during installation we could choose. (If you have several operating systems in the image for installation, in this case there will be a choice. How to make it possible to install Windows 7 from one image of Windows 7 Ultimate: Initial; Home; Professional or Ultimate, read and see). I hope to deal with this in future articles. Illuminated all the nuances. We ran to create a multiboot flash drive.
Article structure
1. Download and install MultiBoot USB
Download the MultiBoot USB program with which we will make a multiboot USB flash drive.
Download conveniently from a torrent
http://rutracker.org/forum/viewtopic.php?t=3848726
After downloading, it is advisable to check the checksums
The checksums have converged, proceed to the installation.
Run as administrator
Click OK
The installed program starts immediately
Half done.
2. Download and install UltraISO
You can skip this item if you already have a program for working with ISO images installed (for example). We need a program to mount images to a virtual disk to write Windows to a USB flash drive.
Download UltraISO from the official website and with the desired language
http://www.ezbsystems.com/ultraiso/download.htm
Let's run the downloaded file. In the system warning window, click Run
We are welcomed by the UltraISO installation wizard. Click Next >
Click Install
Click Complete
UltraISO launches. Click Trial period…
UltraISO installed and running
3. Format and install the bootloader on a USB flash drive
We go down the page in the Download section, download the ISO image in the archive

Downloaded archive
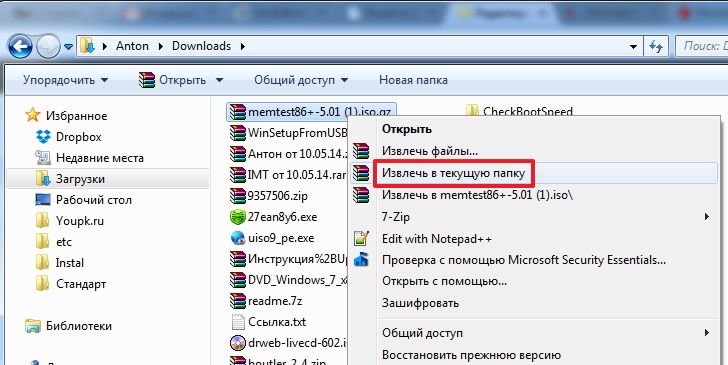
Rename the image to memtest86_5_01.iso and copy to folder boot on a multiboot flash drive
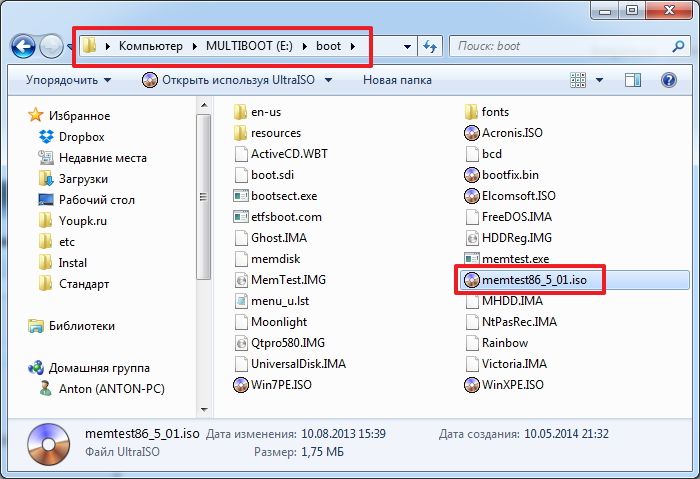
Now let's fix the menu_u.lst file
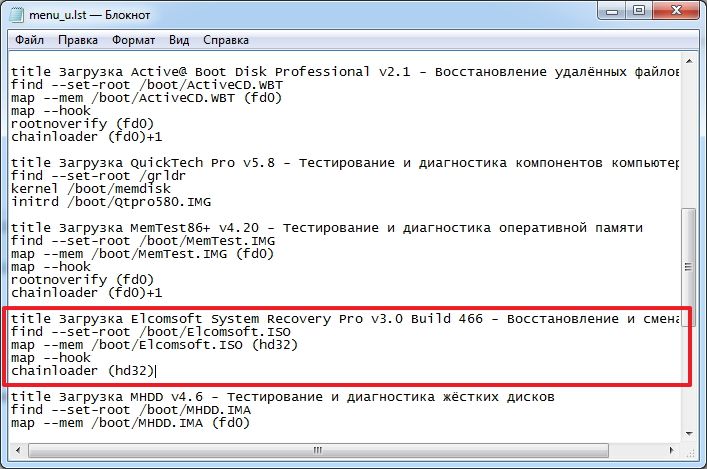
To do this, copy the piece of code responsible for launching Elcomsoft System Recovery Pro v3.0
find -set-root /boot/Elcomsoft.ISO
map -mem /boot/Elcomsoft.ISO (hd32)
chainloader (hd32)
and insert below the item that launches the old test random access memory. In the picture below you can see what I got.
Change the name - title and image names to memtest86_5_01.iso
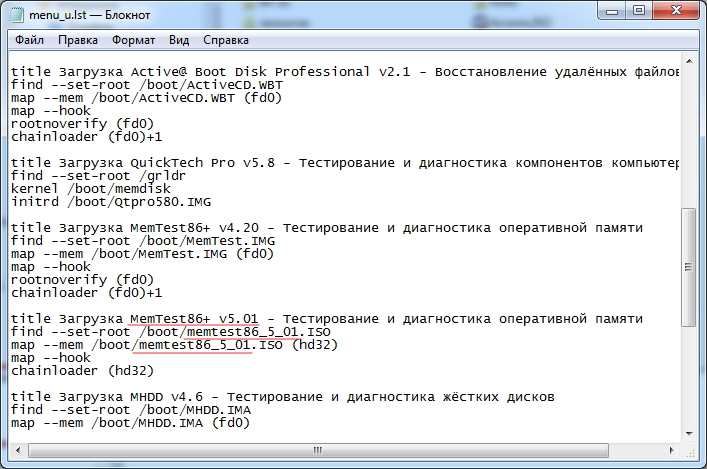
We delete a piece of code that launches the old test. Press Ctrl + S and test what we got
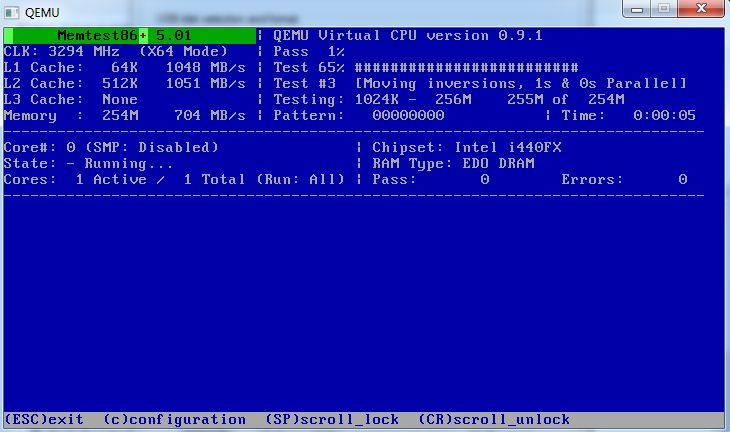
Everything is working.
Conclusion
We have created a multiboot flash drive with which you can install, or. It also includes a bunch useful programs which can be run directly from a USB flash drive, two mini Windows 7 and Windows XP systems (you can boot into them and copy data from system disk before installing the system) and almost full-fledged Windows XP with a huge set of utilities for resuscitation installed system And . It remains only to learn how to use it all.
In the following articles about multiboot flash drives, we will try to do it with antiviruses. To be able to cure a system that does not boot.
Do-it-yourself multiboot flash drive Multiboot USB - multiboot flash drive with Windows Xp, Windows 7 (8 or 10), Acronis True Image and Disk Director, Alkid Live USB, Hirent Boot CD on board
The main tool with which we will make a multiboot flash drive is MultiBoot USB, so you should download it
After we have downloaded it, run MultiBoot USB - Multiboot flash drive.exe and press OK
 After 2-3 minutes of unpacking, go to the desktop and run MultiBoot USB
1. Multiboot flash drive. Start. Formatting a flash drive
Now the first stage of creating a multiboot flash drive will begin. Format the flash drive - run Hp Usb Disk Storage Format Tool, then select a flash drive from the list, file system- preferably Ntfs and click Start. (Attention: at this stage, all data from the flash drive will be deleted !!) Then close the Hp Usb Disk Storage Format Tool window
Multiboot flash drive - Multiboot Usb
2. Installing the Grub4dos bootloader
We write the Grub4dos bootloader to a USB flash drive. We launch Grub4dos Installer, in field disk select our flash drive and click Install
 If a text box pops up: The Mbr/bs has been successfully installed. Press
Now let's install Windows XP on a flash drive. To do this, we must have ISO Windows image Xp that we need , for example using Daemon Tools. After I did this, I opened this disk (I have it F :) there is such content
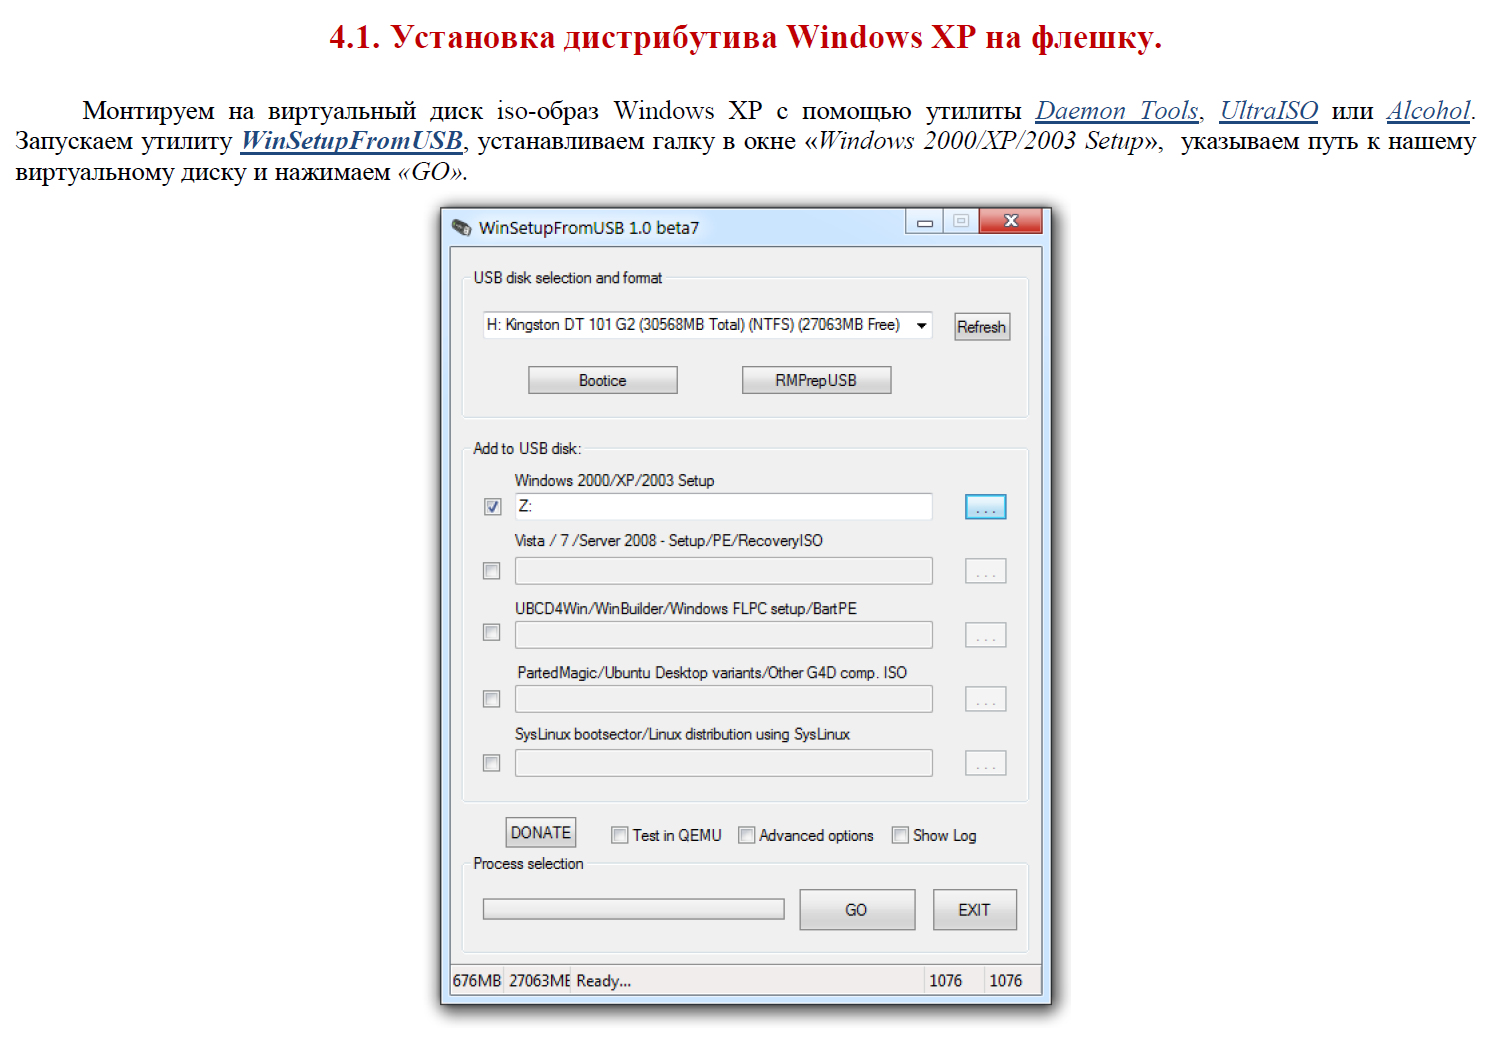
 Now we go into WinsetupFromUsb, select our flash drive from the list, tick Windows 2000/Xp/2003 Setup and specify by clicking on 3 points the mounted image (in our case, drive F:) and click Go.
After 5-10 minutes, Windows Xp will be written to a USB flash drive
4. Add Windows 7
Add to multiboot flash drive Windows 7. To do this, we must have an iso image of Windows 7. The same procedure as above, just check the Vista / 7 / Server 2008 box and specify our mounted image. First (if you open the mounted image it should look something like this)
 Now open WinsetupFriomUsb, indicate our flash drive, put a tick Vista/7/Server 2008 select our image and click Go. At this time, it may seem that the program has hung at a certain point. But then it “decomposes” so go away for 15-20 minutes to drink coffee or don’t pay attention, in general, don’t touch anything.
 So, at this stage, we have a bootable USB flash drive with Windows Xp and Windows 7 on board. Already not bad, but we still have so many different sweets to throw in there, so let's continue!
5. Add Alkid Live CD
In the third step, let's add Alkid Live USB to our multiboot flash drive. For this:
- Download from Yandex people ISO image Alkid Live CD
- from the mounted image to the root of the flash drive
- Renaming the A386 folder to minint at the root of the flash drive
- Copy the NTDETECT file from the minint folder to the root of the flash drive
- We go to the root of the flash drive, open it with notepad menu.lst and add there:
title Alkid Live (without SCSI/RAID)
find --set-root /minint/setuplns.bin
chainloader /minint/setuplns.bin
title Alkid Live
find --set-root /minint/setupldr.bin
chainloader /minint/setupldr.bin - Ready
6. Add Acronis True Image and Disk Director
So let's move on, at this stage we have Windows Xp, Windows 7 and Alkid live cd to flash drive. Let's add Acronis True Image and Disk Director there. Download from here AcronisMedia.iso After downloading, copy this iso file to the boot folder on the flash drive and rename it to Acronis.iso
 Now open menu.lst in a notepad and add it in the place where we want the Acronis item to appear
title Setup Acronis True image || Disk director
find --set-root /boot/Acronis.ISO
map --mem /boot/Acronis.ISO (hd32)
map --hook
chainloader (hd32)
7. Add Hirent Boot CD
For a complete multiboot flash drive we also need a Hirent Boot CD.
When I boot from a flash drive, a window pops up where I choose what I want to install or run. To sum up, we have created a flash drive that can be used to install Windows Xp, Windows 7, use all the features of Acronis true image , Alkid live cd and Hiren`s boot cd
Thank you for your attention. You now have to use your multiboot flash drive! Be sure to ask questions, this article will be edited more than once
This article provides instructions on how to create a multi-boot flash drive using Multiboot programs USB. The program works with NTFS and FAT32, so you can use not only a flash drive, but also an external hard drive.
Preparing for installation
1. To begin with, let's take a flash drive of such a size that all the planned images fit on it.
The following programs are preinstalled in the image created by this program:
- FreeDOS - Boot in Mode command line, includes DOS-Navigator and VC
- Universal boot disk v3.7 - Working with NTFS partitions in MS-DOS
- NT Password & Registry Editor - Password change and editing Windows Registry XP
- Active @ Boot Disk Professional v2.1 - Recover deleted files
- QuickTech Pro v5.8 - Testing and diagnostics of hardware and its components
- MemTest86 v4.20 - Testing and diagnostics of RAM
- MHDD v4.6 - Testing and diagnostics of hard drives
- Victoria v3.52 - Testing and service maintenance IDE and Serial ATA HDD
- HDD Regenerator v2011 - Troubleshooting physical damage to HDD
- Symantec Ghost v11.0 - Working with hard disk partitions.
In addition to the utilities listed above, you can add ISO images to the package (the necessary menu items have already been created for them, and dummy files that need to be replaced with real images):
- Windows XPE - Mini Edition
- Windows 7PE - Mini version
- Acronis Disk Director & True Image - Working with hard disk partitions.
The process of installing and creating a multiboot flash drive
1. First, run the utility HP USB Disk Storage Format Tool, select the device, check the box " Quick Format" and format it (preferably under NTFS, so that in which case there are no problems with big files images).
2. Next, install grub4dos. Run Grub4Dos Installer, in the "DeviceName" field, select Disk, and your device (the device name is not displayed, only the size in megabytes). Click " Install".
Technically, the flash drive has already become multiboot, but apart from the utilities that we unpacked, there is nothing on it.
Let's supplement the set with images of operating systems. For convenience, you can create an "iso" folder in the root, where all disk images will be located.
For Windows family systems
To install Windows 7, Windows 8, Windows 8.1, follow step 4.1 of the instructions, selecting the appropriate (2nd) checkbox:
For Linux-based images
Opening a file on a flash drive menu.lst(at the root) notepad and replace the default items with the desired ones, for example:
find --set-root /iso/ubuntu1110i386.iso // where "/iso/ubuntu1110i386.iso" is the path to the image
map /iso/ubuntu1110i386.iso (0xff) || map --mem /iso/ubuntu1110i386.iso (0xff)
chainloader (0xff)
Checking the performance of a flash drive
To test the work, run WinSetupFromUSB, select the created USB flash drive in the field with the device, and check the "TestinQEMU" checkbox. By clicking on "GO" the boot from the flash drive will be launched in a virtual environment without rebooting the system.
How to change the background image under the boot menu
1. You will need a background image layout and . Edit PSD file and save to BMP (you may have to re-save with a third-party program).
2. Copy the finished file to the "Files" folder from the "SkinsRepack" archive, and run the "Pack.cmd" file. We get the Skins file without extension. We copy this file to a USB flash drive, and in the menu.lst and /boot/menu_u.lst files in the second line we indicate the path to the skin:
gfxmenu /boot/Skins
You can also check how your new skin looks in the emulator.
After all the actions on the flash drive, there will be two folders and four files, however, they can be marked as hidden, which will not affect the operation of the device in any way.
Checking in the emulator does not give a 100% guarantee that a particular image will work in real conditions. Checks for virtual machines VirtualBox or VMWare may not always work correctly either, so it's best to test on real hardware.
Hello admin! Can't wait for your article creating a multiboot flash drive Windows XP, Windows 7 and Windows 8 and tried to create it myself, but apparently there is not enough knowledge and in the end nothing happened, the flash drive turns out to be non-bootable. I have new computer with BIOS UEFI, I want to install on a separate HDD Windows XP, as there are several programs and games that do not run on Windows 7 and Windows 8. When will the article you promised come out?
How to create a multiboot USB flash drive with Windows XP, Windows 7 and Windows 8 operating systems
Hello friends! A similar question was asked countless times on the site by users and I understand you, it’s pretty good to have a similar flash drive on hand (immediately with three operating systems), especially since it is not difficult to create such a flash drive, and in this article I will tell you how to do it. We will use the WinSetupFromUSB program already familiar to us, we definitely need the final version of this program 1.3.
Note: WinSetupFromUSB creates a UEFI flash drive, BUT using such a bootable USB flash drive you can install Windows 7 and Windows 8 not only on a computer with UEFI BIOS, but also on a computer with simple BIOS. I will also remind you, if you are installing Windows 7, then insert the USB flash drive into USB port 2.0, since Windows 7 lacks USB drivers 3.0 (blue). To create a multiboot flash drive for Windows XP, Windows 7 and Windows 8, I used a 16GB flash drive.
So, in order to create such a wonderful flash drive, first of all you need to boot into the Windows 7 64 bit or Windows 8 64 bit operating system, for example, I will use Windows 8 64 bit, it is in it that I will create such a multiboot flash drive with operating systems Windows XP 32 bit, Windows 7 64 bit (32 bit is also possible), Windows 8 64 bit.
We create a boot Windows flash drive XP
To begin with, you must have a Windows XP image with integrated SATA drivers, otherwise Windows installation XP from a flash drive to a computer with modern motherboards You'll get blue screen with an error. Read more in our other article.
We go to the official website of the WinSetupFromUSB program.
Select WinSetupFromUSB1.3.exe (22 MB).
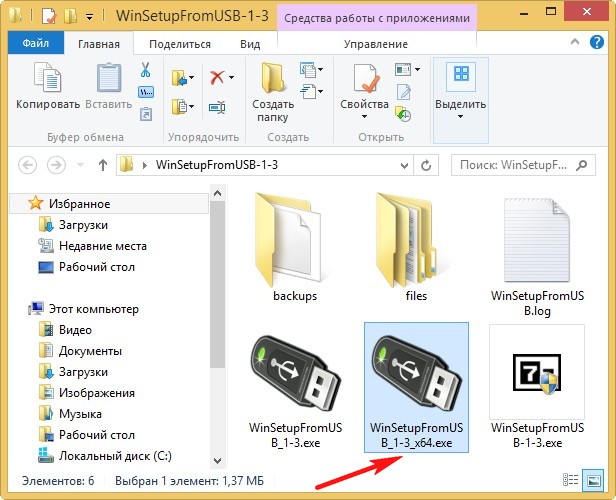
Download, unzip and run our program. I am on Windows 8 64 bit operating system. Our WinSetupFromUSB program can run on both 32-bit and 64-bit operating systems. To run WinSetupFromUSB in Windows program 8 64 bit double-click on the WinSetupFromUSB_1-3_x64.exe file.
Attention: Friends, if you need a bootable UEFI flash drive with XP, Windows 7 and Windows 8, then you will have to format the flash drive to the FAT32 file system, but it follows that the image of your Windows 7 and Windows 8 should be no more than 4 GB, since file system FAT32 does not work with files larger than 4GB. Immediately go to the very end of the article, there is detailed information for you.
And yet, do not forget, otherwise you will not install Windows XP on a new computer or laptop, since the XP installer simply will not see the hard drive.
Most users do not need a multi-boot UEFI flash drive, but need a regular bootable USB flash drive with operating Windows systems XP, Windows 7 and Windows 8, which means that the image of your Windows 7 may well be more than 4 GB, in which case the multi-boot flash drive we created with three operating systems will be in NTFS format!
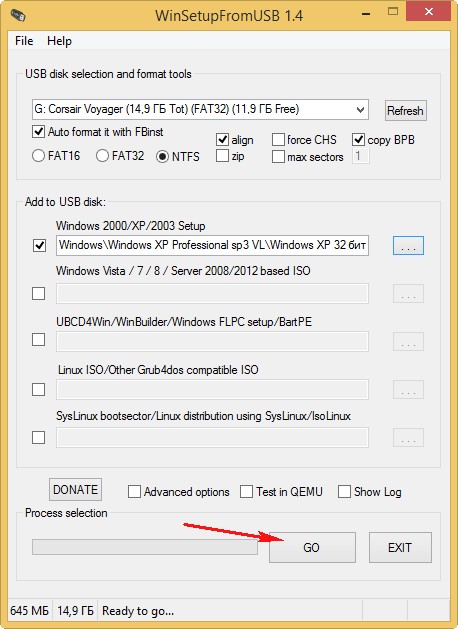
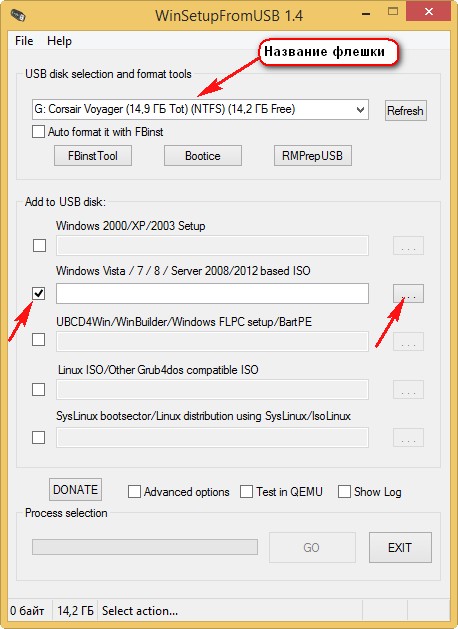
In the main window of the WinSetupFromUSB program, you can see the name of our connected flash drive.
Put a tick on the item Auto format it with FBinst and mark the item NTFS
Below, tick the Windows 2000/XP/2003/Setup item and press the button on the right to open the explorer window .

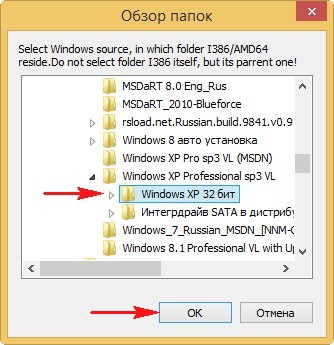
In the explorer, you must specify a pre-prepared folder with files Windows distribution XP 32 bit.
if you have installation disk with Windows XP 32, then open it and copy all the files contained inside to some folder and name it for example Windows XP. If you have ISO image XP, open it for example in a free (for personal use) program and also copy all the files of the Windows XP distribution to a folder.
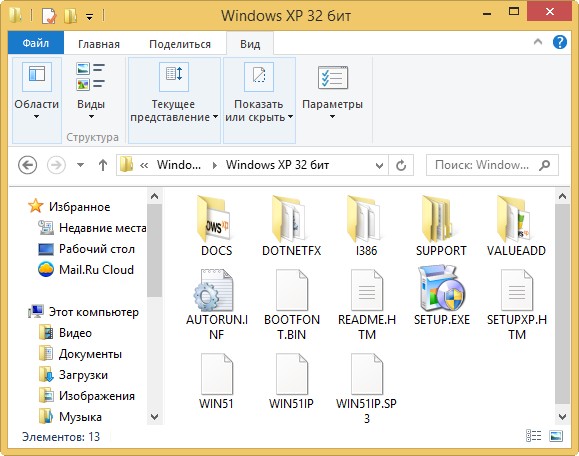
So the folder with Windows files XP 32 bit indicated, click OK.
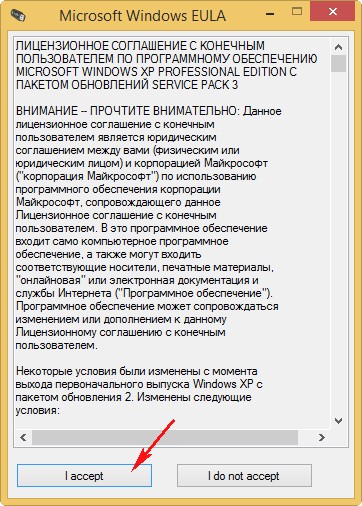
We accept the license agreement.
Press the GO button

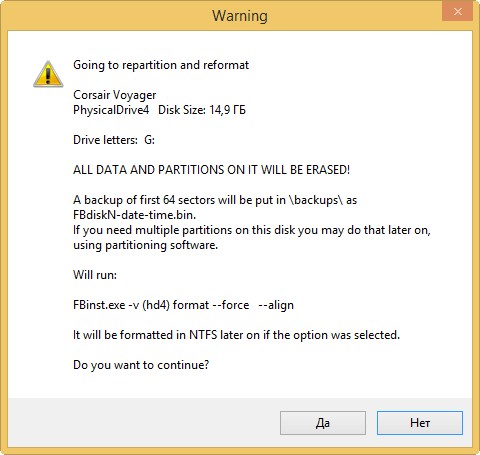
And the first phase of creating our multiboot flash drive begins, which ends successfully.
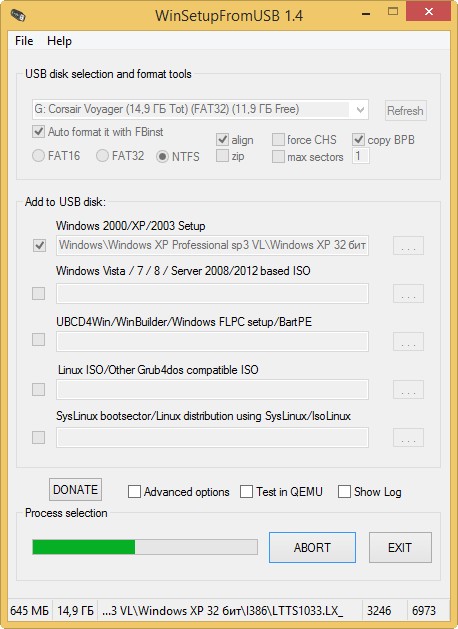
OK. Bootable Windows XP 32 bit is ready.

We add to our bootable flash drive Windows 7 64 bit
Now we add Windows 7 64 bits to our bootable flash drive, or if you want Windows 7 32 bits, then we will also add Windows 8 64 bits.
We go to the WinSetupFromUSB program folder and run the WinSetupFromUSB_1-3_x64.exe file.
In the main window of the program, we see our Corsair Voyager flash drive automatically detected.
In no case do not check the box Auto format it with FBinst!
Check the box below Vista/7/8/Server 2008/2012 based ISO and click on the right button to open the explorer window.
Find the ISO image of Windows 7 64 bit, select it with the left mouse and click "Open"


