AOC recently announced the release of a new unusual monitor, the e2343Fi. The uniqueness of the monitor lies in the integrated docking station, the main purpose of which is to connect iPhone and iPod products from Apple. The monitor itself comes with a screen resolution of 1920x1080 pixels and allows you to watch videos in Full HD mode. According to the manufacturer, the e2343Fi is a smart monitor designed specifically for fans of high-quality video with advanced viewing functions offered by the built-in docking station.
This monitor...
 Zalman proudly introduced another representative of the PC case segment - the ZM-Z1 model. The new product, developed in a mid-tower format, has a stylish design with convex side panels, a mesh front panel and a special recess on the top panel for smartphone or external storage. The steel chassis is complemented by plastic inserts and is completely painted black. The overall dimensions of the case are 199x432x457 mm.
The Zalman ZM-Z1 model supports motherboards ATX/micro-ATX standard, as well as power supplies...
 Corsair recently introduced a new extraordinary power supply called the AX1500i. The uniqueness of the model lies in its possession of the 80Plus Titanium certificate, thanks to its ultra-high efficiency. So, at a load of 10% the unit reaches 91.23% efficiency, at 20% - 92.63% efficiency, at half load - 94.04% efficiency, and at full load - 91.34% efficiency. Corsair promises to begin shipping the new product by the end of May at a recommended price of $449.99.
The Corsair AX1500i is powered by second-generation digital design that delivers unprecedented performance at 1,500 watts of power. This and...
What is screen resolution? This is a parameter on which the clarity of the picture on the monitor depends. The higher the resolution, the smaller the pixels—colored elements (dots) that make up a digital image, like a mosaic.
When the screen resolution is low, the pixels become larger and their total number becomes smaller, so the picture looks grainy and blurry. If you look closely, it all consists of small squares, which is especially noticeable on thin lines and contrasting color transitions. Icons and windows appear disproportionately large at low resolutions, and their edges often extend beyond the screen.
In minimum resolution (800×600) working Windows table 7 looks like this:

At high resolution, the number of pixels increases and, accordingly, their size decreases, so the image looks naturalistic and clear, without graininess. At maximum resolution (1366x768), the Windows 7 desktop looks like this:

The maximum permissible resolution depends on the technical properties of the display matrix and the capabilities of the video card. If you had to install Windows 7 yourself, you must have noticed that immediately after installation the minimum screen resolution is 800x600, and you cannot change it to a higher one, even if you have an ultra-modern, powerful video card. This is because the system uses basic video, the purpose of which is to provide at least some visibility of what is happening on the computer. To get the most out of your hardware, you need to install the appropriate drivers.
How to change screen resolutions?
After installing the video driver, the screen resolution is automatically set to the optimal one and its settings become available to the user. You can set one of several standard resolutions using Windows tool 7 “Setting screen resolution.”
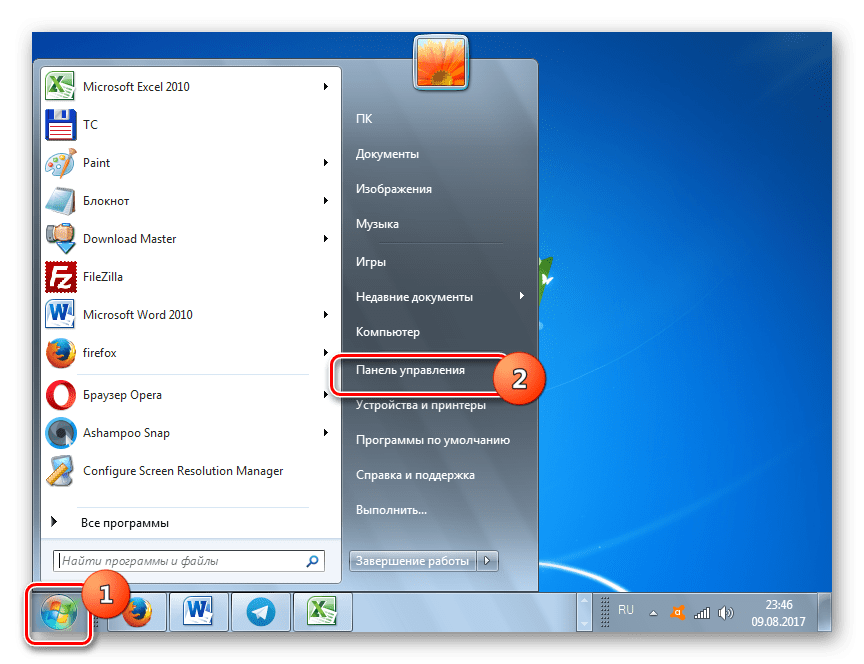
- Go to the control panel and from the sub-items of the “Appearance and Personalization” category, select “Adjust screen resolution”.

- Another way to access this setting is the Screen Resolution item in context menu desktop.
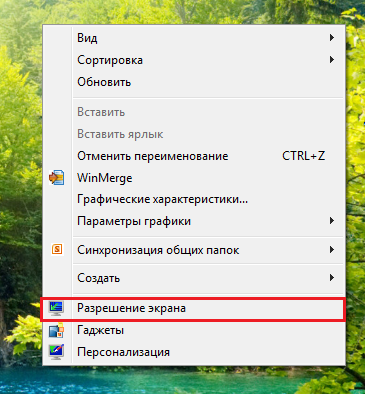
- Clicking on one of these items opens the “Screen Settings” window. The resolution setting is available from the list item of the same name, next to which there is a drop-down menu. Inside the menu there is a scale with a slider, by moving which you can change the screen resolution from minimum to maximum. This setting on different computers varies, and this, as already mentioned, depends on the properties of the display matrix and the capabilities of the video card.

- Having set the desired value, click the “Apply” button. After this, the resolution will change, and a window will appear on the screen asking you to save the change. If you are satisfied with everything, press the confirm button; if not, do not press anything: after a few seconds, the display parameters will return to their previous settings.

That's all the setting is - the screen resolution changes immediately, you don't need to restart the computer for this.
Setting a custom screen resolution in Windows 7
Modern monitors and laptop displays display images best when operating at the resolution recommended by the manufacturer. But the list of available resolutions in Windows 7 may not contain what you need, that is, system tools they won't help you. To install a non-standard resolution you will need third party software. These could be proprietary utilities from monitor manufacturers or programs for setting up video. As an example, let's look at one of these programs - PowerStrip - a utility for overclocking and fine-tuning video cards. It, among other things, allows you to change the screen resolution within a wide range.
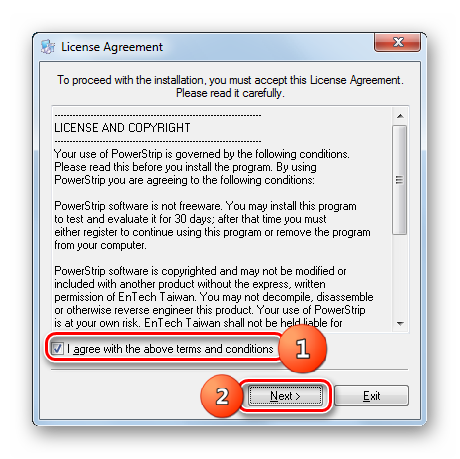
- Download PowerStrip from the link and install it on your computer.
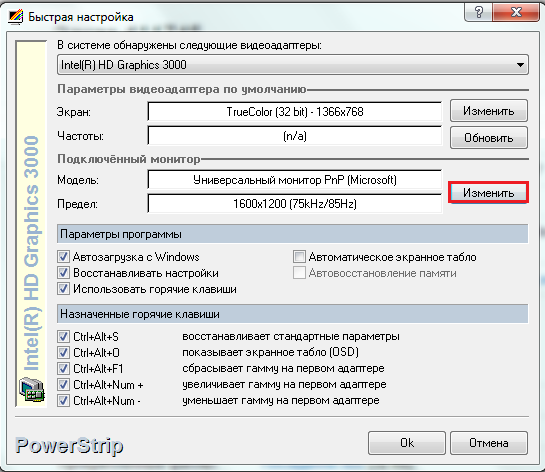
- To adjust the display resolution, in the main PowerStrip window, under Connected Monitor, click the Change button.
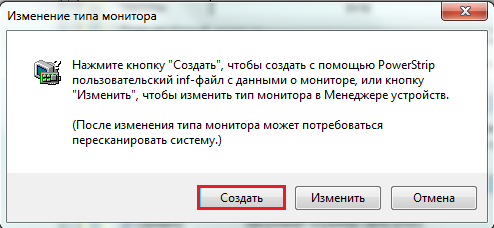
- To create an inf file where the settings profile of the selected monitor will be stored, click “Create”.
- In the “Monitor Information” window, in the “Output Options” section, set the desired vertical and horizontal display resolution, then click the button with the floppy disk icon to save the profile.

- To apply the settings, you need to restart the computer, click on the PowerStrip icon in the system tray, select “Display Profiles” from the menu and point to the saved profile.

- By clicking the “Settings” button here, you can get to the section for changing screen parameters. In this window you can set a different resolution and create several more profiles.

Troubleshooting after changing screen resolution
Sometimes due to setting an unsupported display resolution after Windows boot 7 is displayed only with a cursor and nothing else. In this case, the settings must be returned to standard. This is done like this:
- Reboot your PC by clicking before restarting Windows key F8.
- From the menu additional options start, select " ".

- After starting the system, go to the screen resolution settings and set one of the standard values, preferably low (then you will change it).

After that, reboot to normal mode, change the resolution to optimal and the problem will be solved.
It is no secret that different screen resolutions, which indicate the number of pixels on the display, are optimal for different monitors. The higher this value, the better the image. But, unfortunately, not all monitors are able to correctly support high-resolution work. In addition, some users deliberately lower it in order to get better computer performance instead of beautiful graphics. It is also necessary to change this parameter to perform a number of specific tasks. Let's figure out how to set it up different ways permission on Windows 7.
All available methods for changing this screen setting on Windows 7 can be divided into three groups:
- Use of third party software;
- Using video card software;
- Using built-in tools operating system.
At the same time, even when using methods with built-in OS tools, you can use different options. Let's talk about each of them in more detail.
Method 1: Screen Resolution Manager
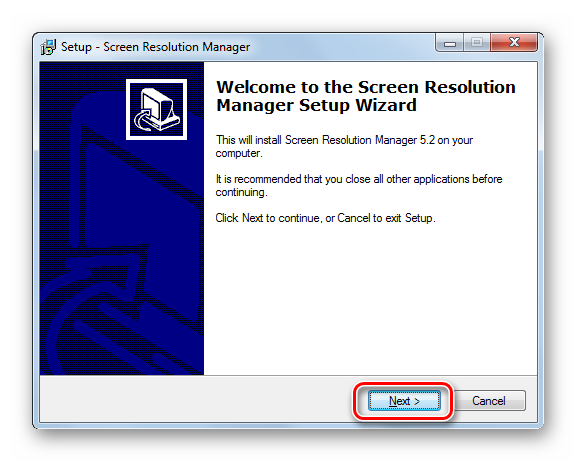
First of all, let's consider the use of third-party programs to solve the problem posed in this article using the Screen Resolution Manager application as an example.

The main disadvantages this method is that the free period of use of the Screen Resolution Manager program is limited to only a week. In addition, this application is not Russified.
Method 2: PowerStrip
Another third-party program that can help solve this problem is PowerStrip. It is much more powerful than the previous one and specializes mainly in overclocking the video card and changing all its various parameters, but it also allows you to solve the problem posed in this article.
Method 3: Using graphics card software
The screen parameter we are studying can also be changed using software manufacturer of the video card, which is installed with it and serves to manage it. In the vast majority of cases, programs of this type are installed on the computer along with video card drivers. Let's see how to change screen settings in Windows 7 using software designed to control an NVIDIA video card.
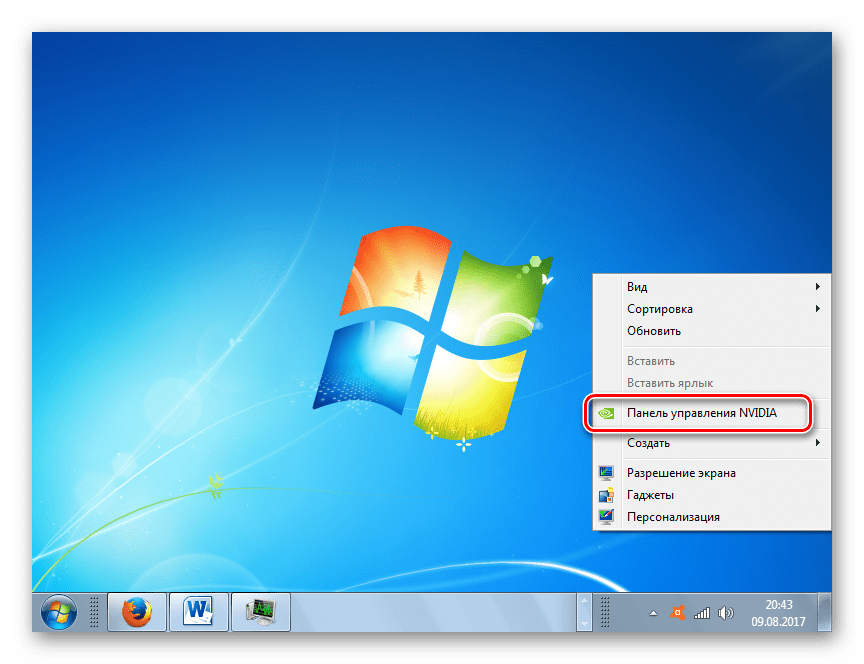

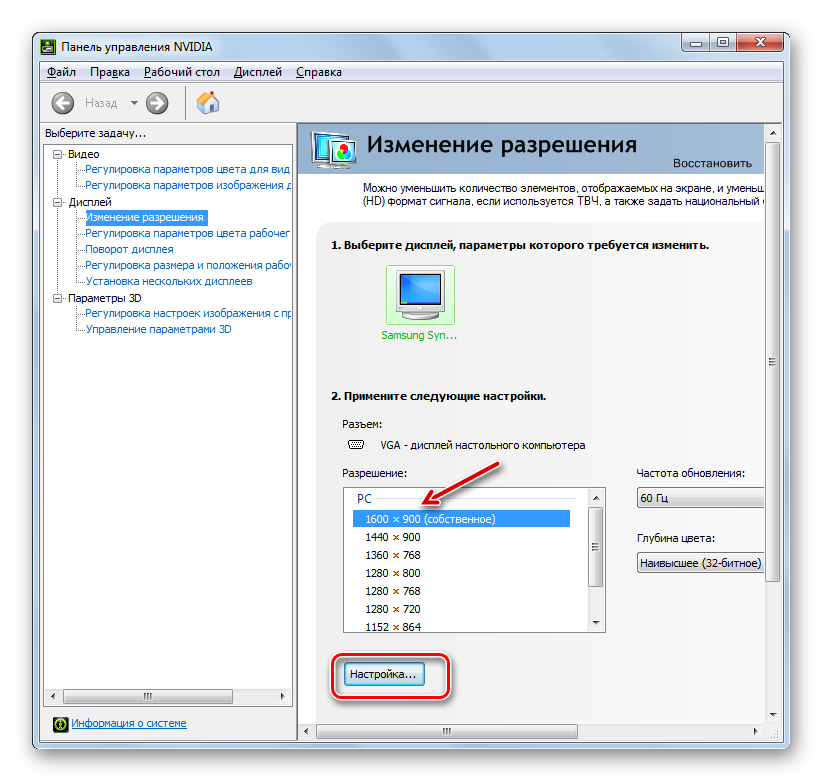
IN "Panels NVIDIA management» there is a very interesting feature that allows you to set the resolution, even if it is not supported in standard settings monitor.
Attention! When performing the following actions, you need to understand that you are performing the procedure at your own peril and risk. It is even possible that the actions described below may harm the monitor.

All of the above applies to computers and laptops with a discrete adapter from NVIDIA. Owners of AMD video cards can perform similar manipulations using one of the “native” programs - (for modern graphic cards) or (for older models).
Method 4: Using built-in system tools
But you can also solve the problem using only the built-in tools of the system. Moreover, for most users their functionality is quite enough.

You can change the screen resolution by using third party programs or software that comes with the video card, or using the built-in tools of the operating system. Moreover, in most cases, the capabilities that the OS provides are quite sufficient to satisfy the needs of most users. It makes sense to turn to third-party software or video card settings only when you need to set a resolution that does not fit into standard range, or apply parameters that are not in the basic settings.


