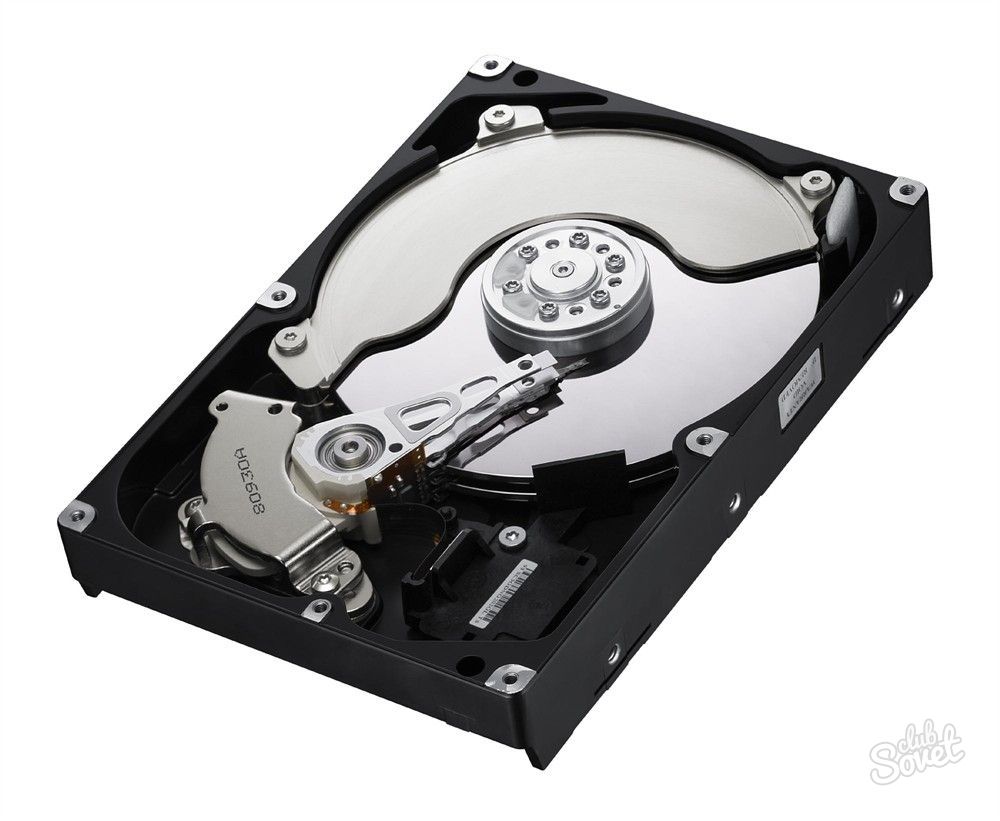
Happens, HDD fails or needs to be replaced with a new one. Sometimes there is a need to use it as a digital medium. In both the first and second cases, it is necessary to remove it: carefully and competently, so that after installation in place the hard drive can continue to perform its functions to the fullest. Simply put, do no harm! Read on to find out how to remove a hard drive without damaging it.
Completely new results from these computer experts! Thanks for the introduction. And such general concepts as "when the hard drive is full, the hard drive is full and everything is slow" are known by people who can safely check. Again and again it is a pleasure to read if inexperienced ones are recommended as they can free their computers of unnecessary ballast.
The “yes” tool has a surprising number of switches and customization options, but if you hack then, do it carefully. If you don't know, better inform yourself on the forums, how optimal settings. By default it is already installed, which can actually be a lot.
If you have no idea, or only dangerous half-knowledge brings, a very quick end to the terrain! Before you transfer it, you need to install the fuse, how to do this, every technical forum explains something. Removal hard drive may have different, for example, imminent sale or simply an excessive amount of data on the disk. Please note that all data will be completely deleted. For this reason, it is advisable to secure the data you urgently need in advance.
Below is a description of how this process works before describing how to erase and clean your hard drive. You must save your data first. So you can read here. It is important to store images, music, videos and other files on an external storage medium.
This removes possible viruses and all data. "Delete files only" is faster, but the files can be recovered by specialists. Before selling, you need to choose the second method “Delete files and disk”. At the end, before starting the reinstallation, a hint comes as a summary that happens as follows.
In this case, you should have saved all the data in advance. This ensures that the computer works the same as before. It's helpful to write down which programs you'll need later. Usually you can't go wrong with these two different methods. However, proper preparation is important to minimize time spent on residual work.
This process will not cause any difficulties if you strictly follow the instructions and advice. Even a person who has never seen the inside of a computer can remove the hard drive on their own.
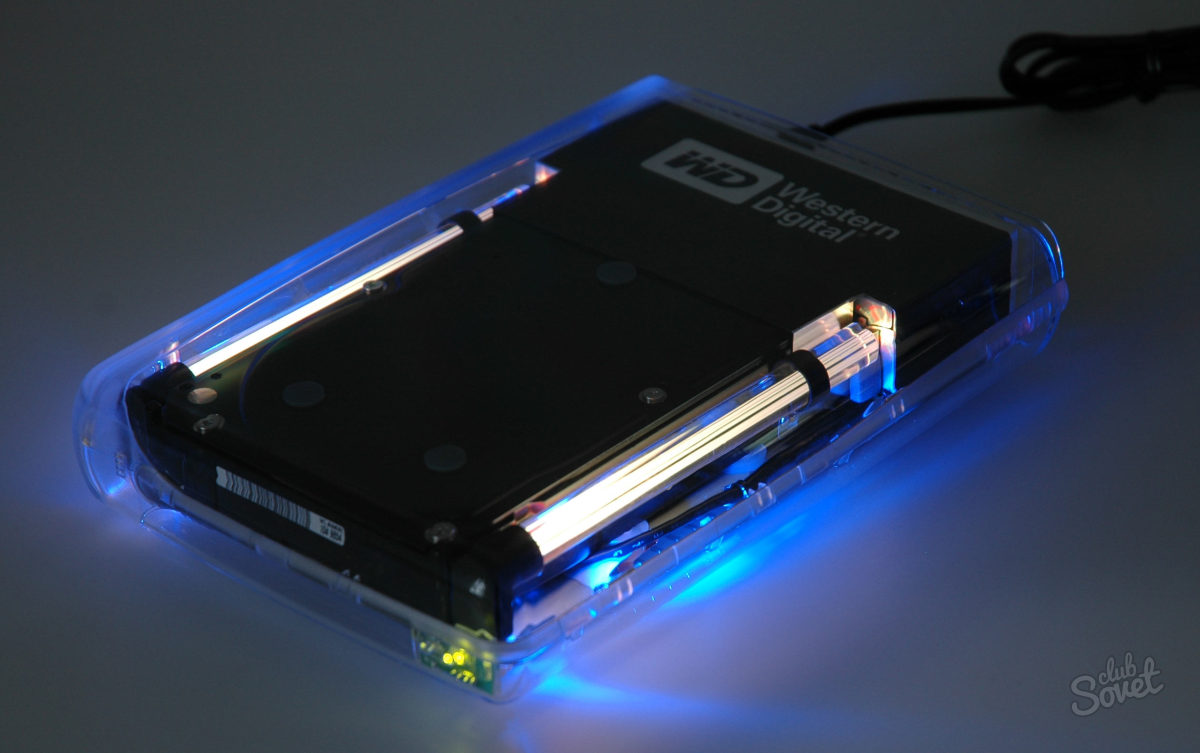
An external drive is a popular device that is characterized by a number of advantages, including portability and the ability to store volumes of information. The digital world offers a modern range of external storage media, including USB sticks and external drives, from which everyone can choose the appropriate option. In this article we will tell you how to correctly and safely remove a hard drive from a computer.
Nowadays, computers and even more laptops are becoming obsolete at an incredible rate. Every time the time comes when we have to replace the “old” laptop. What do we do then? Leave it in the corner? Take him to a clean place? It may not be possible to completely reuse your equipment, but you can extend the life of one of its components and get more out of it.
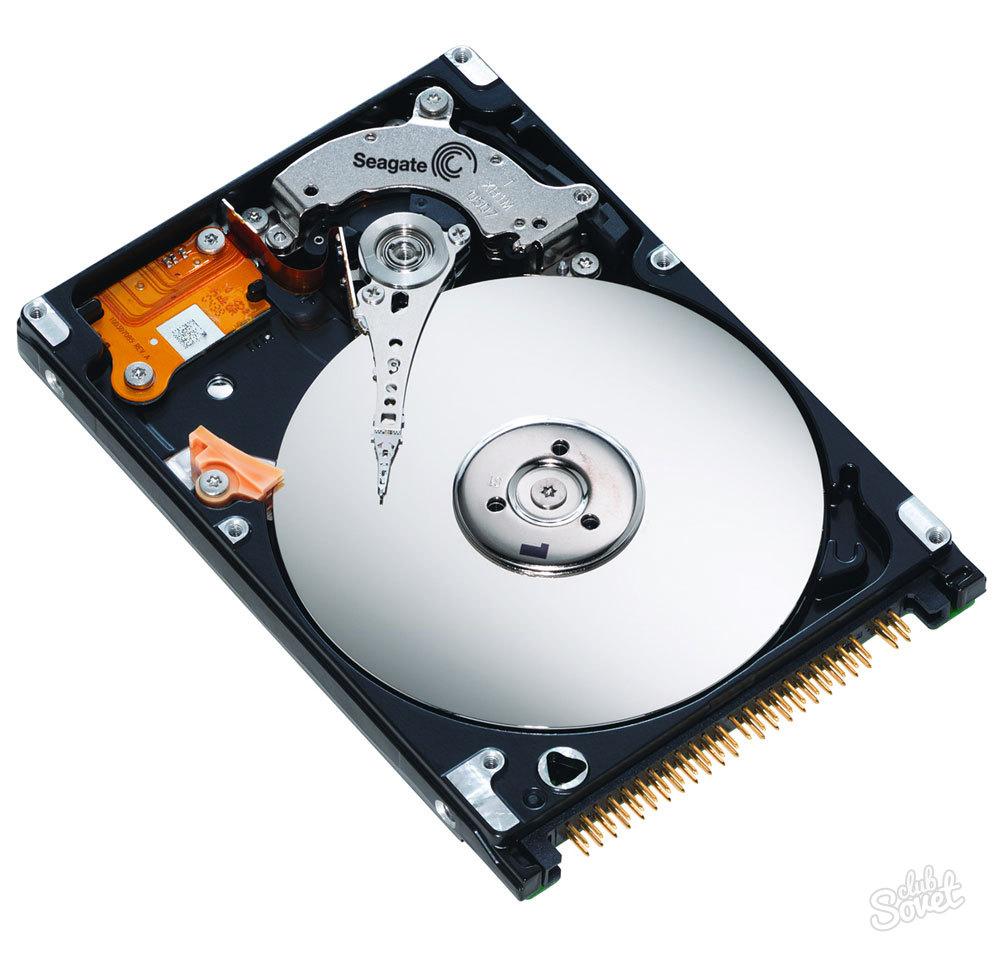
The first step we must take is to remove the hard drive from our old computer. To do this we need to convert our old laptop and remove the disk. Don't worry, this is not a difficult task, you just need to use the right screwdriver and remove the screws from the compartment to remove the cover that covers the hole on the drive, as we can see in the image.
Numerous users believe that carrying out additional manipulations with the mouse is a waste of time. Therefore, they are limited to simply removing USB drives. However, neglecting the secure extraction procedure can lead to unpleasant consequences, including the loss of important data that was stored on computer equipment, and drive failure. In this case, information disappears from the media when files are moved, copied, or at an unexpected moment. To prevent this kind of difficulty from occurring, you should use a special function in Windows.
In some cases, the hardware storage unit can be rotated inside the metal box, in which case it is no longer necessary to remove the screws of this and also remove the disk. 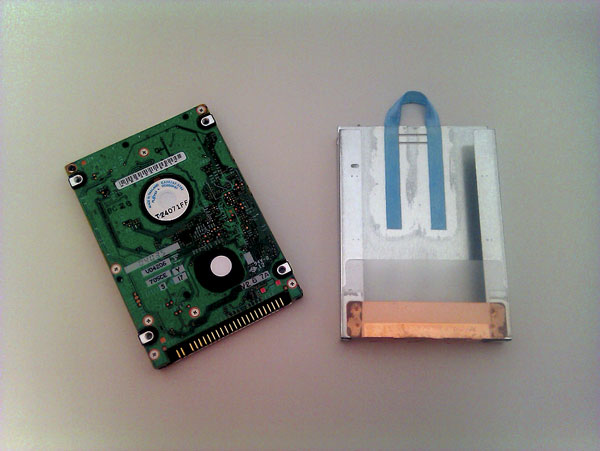
To perform this conversion, you will need your laptop's hard drive and an external hard drive enclosure.
Open a window and connect the drive
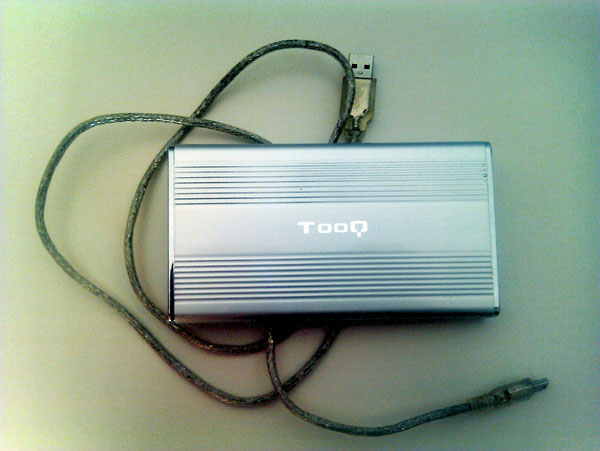
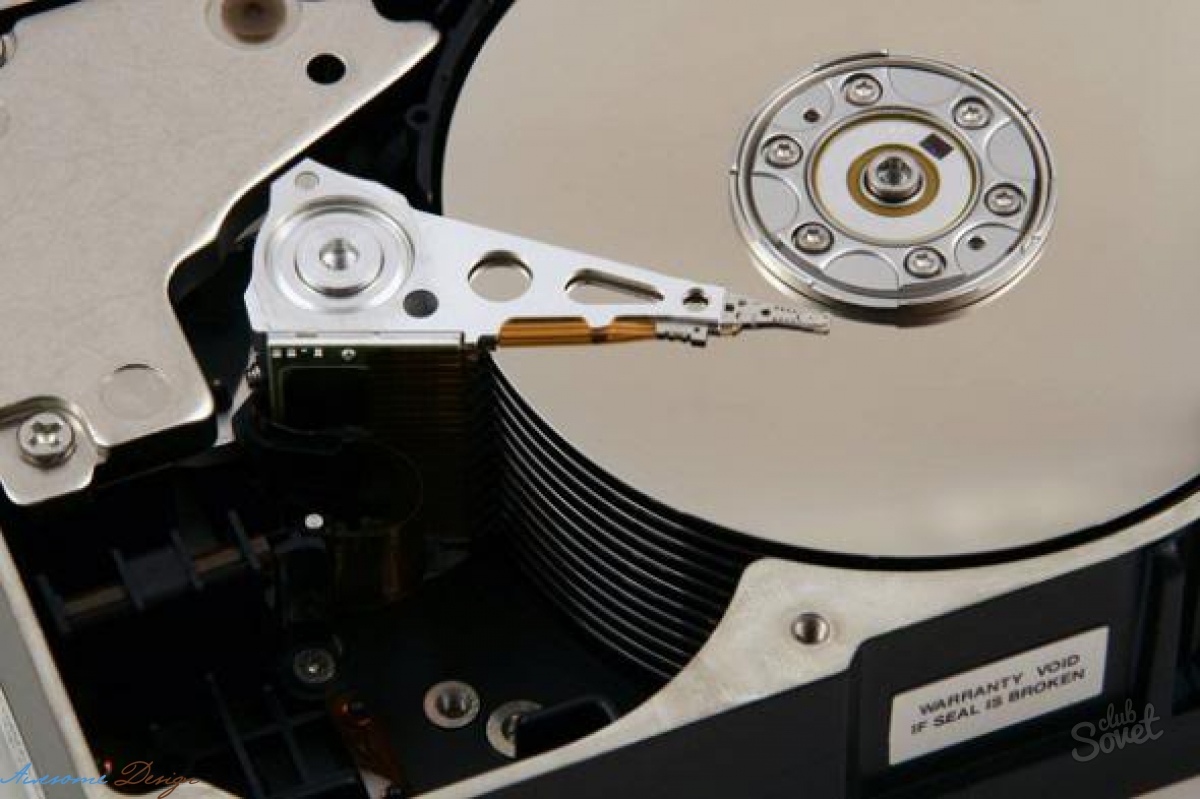
In short, prices will depend on what we need. This function will allow us to take advantage of disks that are even older than the one we are maintaining. We already have a box; now it is open. The process, which is again quite simple, is to select a suitable screwdriver and remove the front and back cover. After this you can remove the plate containing the box.
When not to use Safe Shutdown
It is worth noting that in certain cases you don’t have to waste your own time performing the above function, since this will not in any way affect the state of the device, allowing you to easily save any information. Safe removal can be skipped when:
Having done this, we install the hard drive on the plate, for which we must use four screws that are carried by the plate on the back. Whether you can recover deleted photos from your laptop depends on what happened after the photos were deleted. When photos are deleted, they are marked as inaccessible data on your laptop's hard drive, the space occupied by the hard drive is available for new data. This means that it is very important to stop saving new data to your laptop's hard drive after losing photos.
- The device is used for reading purposes only. In this case, the risk of data corruption is completely absent due to the fact that the OS does not have the ability to change the data. This applies to memory cards and flash drives that are write-protected, as well as DVD and CD drives.
- Portable devices that are connected via USB cable, including cameras and MP3 players.
- Network storage used by the user, “in the cloud” or on NAS drives.
How to remove an external hard drive from a laptop or computer correctly
Proper shutdown of the device is the key to the safety of data and files, and ensures long term operation of the drive, protecting it from premature physical damage. This function operating system is mandatory in the following cases:
How to Recover Deleted Photos on a Laptop
Now you can find photo recovery software for laptops to help you.
Follow the steps below to recover deleted laptop photos
Select the file type you want to recover. To recover deleted photos from laptop, select Photos.Scan partition for deleted photos
If the photos on your laptop have been lost due to formatting, you should activate the "Deep Scan" feature in the window. This will find more files, but it will also take you longer.
Recover Deleted Photos from All over Laptop
After the scanning process, the found files will be displayed in the "path" window and "file type" in the window.- If the connected devices are used by the OS, including writing or reading information from a flash drive. It is worth noting that turning off the drive is possible only after the operation is completed.
- An external hard drive is a common device that users prefer. Its use requires the user to remove the external hard drive from the laptop. The growing popularity of such drives is due to the fact that they represent a profitable investment for a computer and provide data transfer between computers and laptops. An external hard drive allows you to backup and use additional space intended for storing information.
- Drives that use encrypted file system or equipped with encrypted files.
Safe Shutdown Options
The removable drive offers three options for safe removal.
This is a typical windows functionality that seems silly to some, but to others it's something amazing. And the fact is that even shit looks like it's not true. We usually disconnect our hard disks and helmets to the capon, wing, without much thought or hair. The reason for this is that the moment the hard drive is disconnected, the computer can move bytes from one site to another.
And if this happens to you, you have every tip to stop working, at least until you find out. This in itself is not serious, since the device will not be permanently affected, meaning it will not break physically, the parts will be intact, but if the data you store in the external unit is important, then the thing may change, since you will surely lose Enough of them .
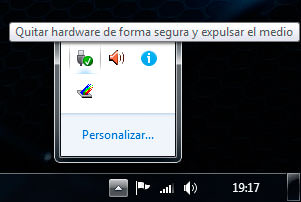
Fig.1. The simplest of them is to click on the corresponding icon on the taskbarBy choosing the most convenient method for themselves, each user will be able to safely transfer data without fear of losing important information or damaging the drive.
Fig.2. And then select the appropriate function
It's worth noting that there are other ways to safely remove an external hard drive. Modern device You can turn off your computer's hard drive via the Start menu:
Disabling an external hard drive
Check if the external drive appears in Disk Management
So first you need to check if it shows up in Disk Management, follow these steps to check. All external hard drives are listed here. You must determine what type you are trying to access by size and format type.If you can see it here, right-click it and select Change Drive Letter and Paths or simply format it properly to fix the problem. If this method does not work, you can try the next method. You can check it using Device Manager. Check your device with yellow exclamation point under Disc drives. Right-click the device with the yellow exclamation mark and select Properties and take note of the error message that may help you troubleshoot the problem.
- Go to the menu.
- Click on the “Computer” option.
- Remove the hard drive from the laptop by right-clicking on the required device and selecting the “Eject” function.
If the external hard drive cannot be removed, you should close all programs that are currently connected to this device. The next step is to go to Device Manager through the Control Panel, which is located in the Start menu. Going to " Disk devices", you must select the desired drive by double-clicking on it.
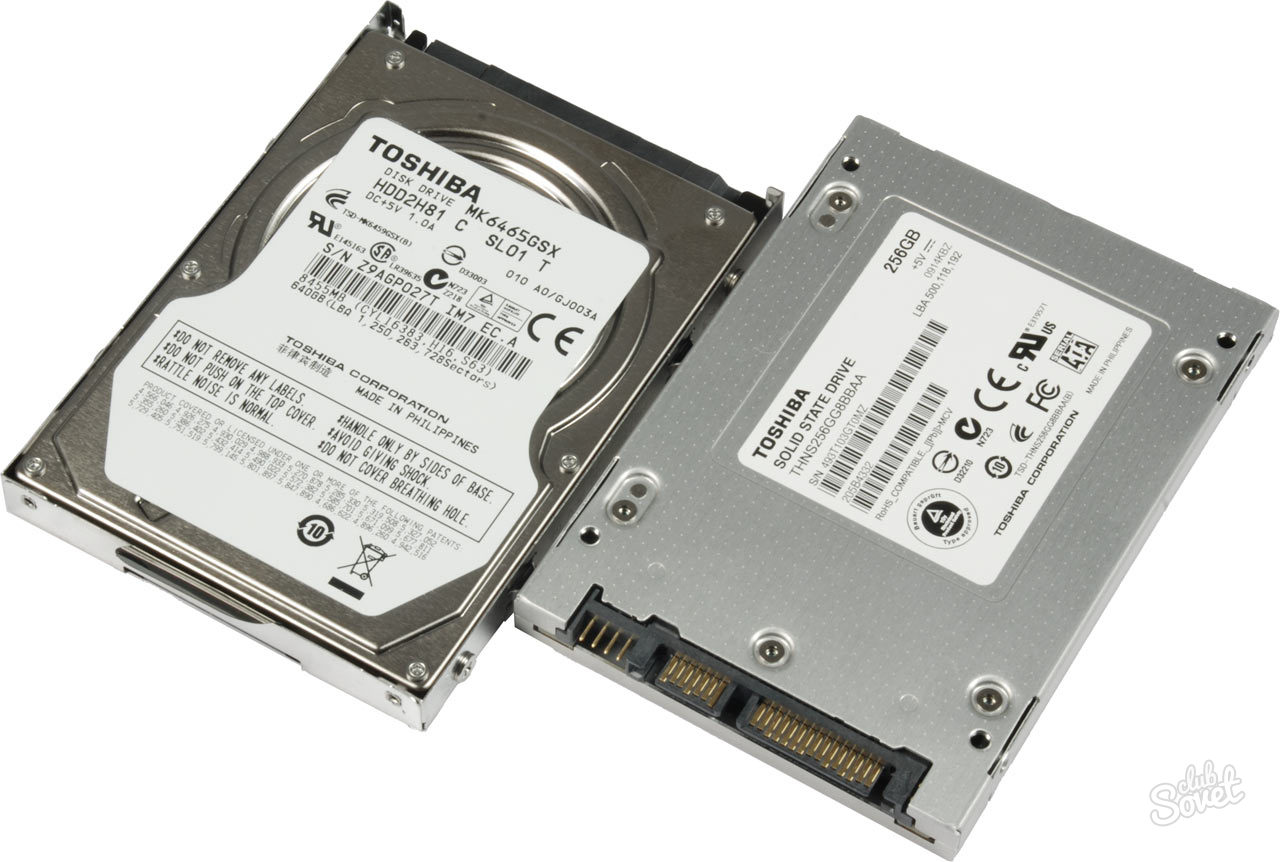
How do I know what kind of hard drive I have? To apply this trick, we suggest following the following steps. If you have it in Spanish, look for "Optimize units." In the search space, type "Optimize." . Immediately it will open a window or interface of this tool, which will actually be the one that will help us optimize our hard drives. Without completing this task, at the top of the interface you will find a list of all hard drives installed on a personal computer.
In the capture we suggested earlier, you will have the opportunity to notice these hard drives and where, the second column indicates the type that each of them corresponds to. The trick we mentioned above will only offer us general information about our hard drives, that is, the type of technology and therefore the connector that can be used in its structure.
After completing this step, you should remove the disk from the laptop.
WATCH THE VIDEO
Now you know that the safest way to extract external hard disk, the most reliable and simple. Still have questions? We are waiting for them in the comments.
When you run it on the tool interface, all the hard drives connected to your personal computer. Although this tool also offers us specialized information, but the same is a little clearer than what we can offer above. Here we have the opportunity to see the type of hard drive we have, the read and write speed, its performance, the current temperature, the time it has been running among many other data.
Whatever your needs when it comes to getting important information about your hard drives, any of the three alternatives mentioned in this article can be very helpful. Do you know of any other methods to find out? Tell us about it!


